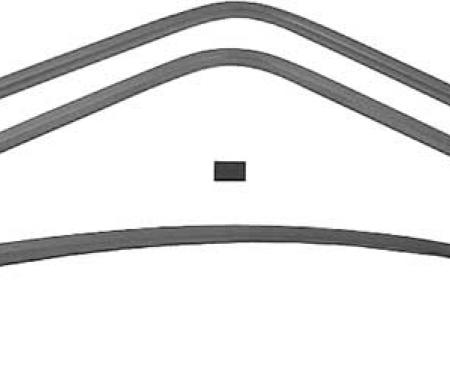
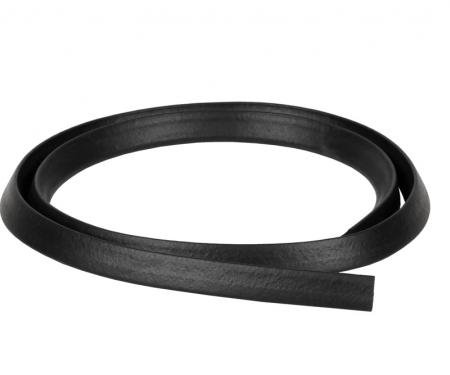
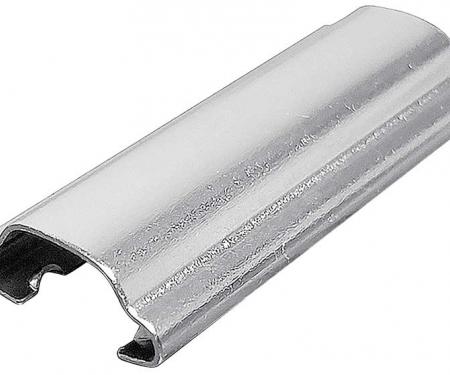
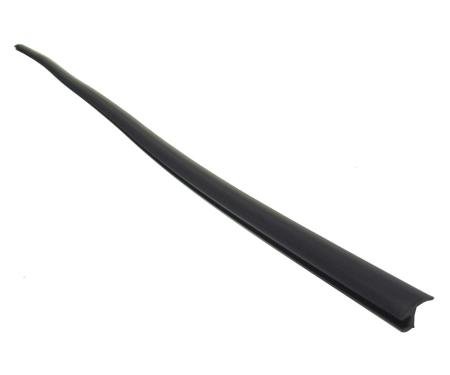
The Precision Windshield Molding WFS D1176-98 A is a direct-replacement windshield trim piece designed to restore the factory appearance, seal the windshield edge, and reduce wind noise and vibration. Engineered for a precise profile match, this molding secures and protects the glass-to-body joint, helping prevent water intrusion and trim damage. Built from corrosion-resistant metal with a resilient sealing lip and UV-stable finish, it offers long-lasting durability, reliable fit, and straightforward installation for restoration or maintenance projects.
Features:
- Corrosion-resistant metal construction with a resilient sealing lip for long service life.
- Secures windshield edge to reduce vibration, wind noise, and potential leaks.
- Profiles to OEM dimensions for an authentic restored appearance.
- Easy to install with basic trim tools; designed for replacement and restoration work.
- UV-stable finish resists fading and maintains trim appearance over time.
Installation / Application:
- Difficulty: 3/5
- Estimated time: 1-2 hours
Instructions:
- Park the vehicle on a level surface and protect painted areas with masking tape and cloths.
- If the windshield or surrounding trim is unstable, support the glass with suction cups or have an assistant hold it. If windshield removal is required, consult a professional.
- Carefully remove the old molding by prying up an accessible edge with a plastic trim tool. Work slowly to avoid bending the channel or chipping the paint.
- Cut away any old adhesive or degraded rubber with a utility knife, then clean the windshield channel and surrounding flange thoroughly with isopropyl alcohol and a clean rag.
- Test-fit the new molding along the windshield edge to confirm orientation and fit. Trim any excess using a utility knife if necessary.
- Apply a light coat of soapy water or silicone lubricant to the sealing lip to ease installation. If the application requires, apply a bead of urethane adhesive or trim sealant to the channel per product instructions.
- Starting at one corner, align the molding and press it into the channel. Work in short sections, pressing and seating the molding fully with your hands and a rubber mallet or block of wood to avoid denting.
- Ensure ends and corners are fully seated and any joins are tight. Wipe away excess lubricant and clean the area.
- Allow any adhesive or sealant to cure as directed by the product manufacturer before driving or exposing the joint to water.
- Perform a water test and inspect for leaks. If you detect leaks or improper fit, remove and re-seat the molding or consult a professional installer.
About Precision Replacement Parts
Since 1986 Precision Replacement Parts has been a trusted name in the Automotive Glass Industry.
Our knowledge and experience in manufacturing millions of extruded and molded EPDM Rubber, PVC and HDPE based plastics, and various stamped and extruded metal products for the classic and late model industries has allowed Precision to expand our services into multiple product markets.
Along with our own USA based production facility, Precision also partners with 25 different manufactures worldwide with a reputation as a global leader supplying OEM and replacement products to a number of different industries. Our partnerships along with our own in-house manufacturing and fabrication capability gives Precision a unique position in helping to meet the expanding needs of customers everywhere, providing them with a sustained competitive advantage.

Vehicle Fitment:
The Vehicle Fitment Guide is to be used as a general reference. The data has been provided by our suppliers and manufacturers and may contain errors or incorrect data. Always refer to a professional to verify correct fitment for your vehicle.
| Make |
Model |
Years |
| Dodge |
Ram 1500 |
1994 - 1999 |
| Dodge |
Ram 2500 |
1994 - 1999 |
| Dodge |
Ram 3500 |
1994 - 1999 |