* Your Name:
* Email (This will not be displayed)
* Rating:

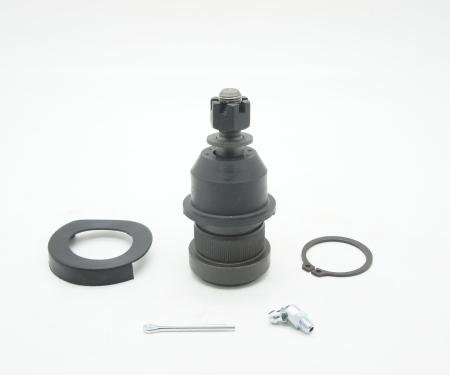
 Grease Port Bottom Cap")
Redline Restomotive® has established itself as a premier brand in the world of classic car restoration, providing enthusiasts with high-quality parts that meet the exacting standards of original manufacturer specifications. Dedicated to the preservation of American automotive history, Redline Restomotive® combines advanced manufacturing techniques with an in-depth understanding of vintage vehicles. The result is a range of products that seamlessly blend into the design and function of classic cars, giving restorers and collectors the assurance that each part reflects the era’s style, quality, and performance.
Redline Select® is our premium line of steering and suspension products for all vehicle makes and models including both North American and Import vehicles. We have partnered with an ISO 9001/QS9000/TS16949 certified manufacturing facility with more than 40 years of experience in producing components that perform to the standards our customers expect. Our steering and suspension parts are backed by multiple quality control checks along the way—during production, prior to shipping from the factory, and at arrival. With our ISO 9001:2015 certification, we observe the world’s highest standards for quality management.
| Make | Model | Years |
| Chrysler | 300 | 1965 - 1971 |
| Chrysler | Cordoba | 1980 - 1983 |
| Chrysler | Fifth Avenue | 1984 - 1989 |
| Chrysler | Imperial | 1974 - 1983 |
| Chrysler | LeBaron | 1977 - 1981 |
| Chrysler | New Yorker | 1965 - 1982 |
| Chrysler | Newport | 1965 - 1978 |
| Dodge | Aspen | 1976 - 1980 |
| Dodge | D100 Pickup | 1969 - 1971 |
| Dodge | D200 Pickup | 1969 - 1971 |
| Dodge | Diplomat | 1977 - 1989 |
| Dodge | Mirada | 1980 - 1983 |
| Dodge | Monaco | 1965 - 1977 |
| Dodge | Polara | 1965 - 1973 |
| Dodge | Royal Monaco | 1975 - 1977 |
| Plymouth | Fury III | 1965 - 1967 |
| Plymouth | Fury II | 1965 - 1970 |
| Plymouth | Fury I | 1971 |
| Plymouth | Fury | 1965 - 1974 |
| Plymouth | Gran Fury | 1972 - 1989 |
| Plymouth | Volare | 1976 - 1980 |
| Aftermarket Reference | ES352R, MES352R, T352, 534636, 534-636, 612.6702, 4011047 |
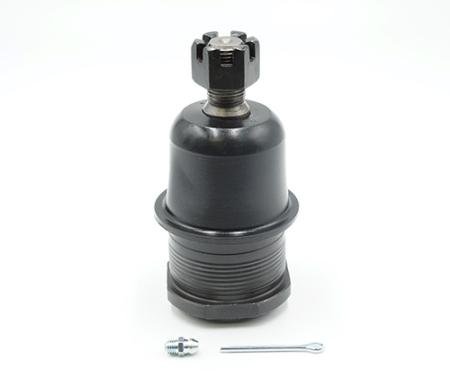
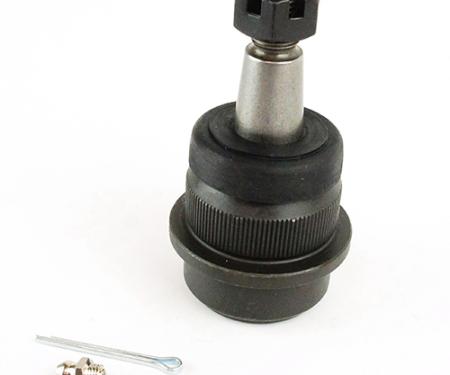
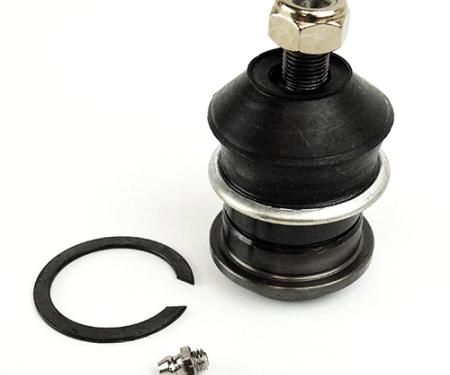
| Bearing Type | POM |
| Body / Arm (M/F) | M |
| Boot Material | CR |
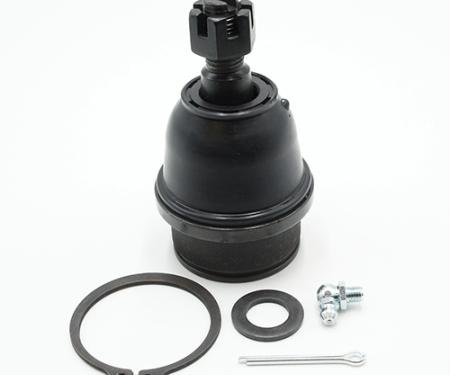
| Castle Nut | Yes |
| Grease Port | Yes |
| Housing Finish | Mag Phos |
| Includes Cotter Pin | Yes |
| Includes Grease Fitting/s | Yes |
| OE Reference | 3004901 |
| Proposition 65 | WARNING: This product may contain chemicals known to the state of California to cause cancer, birth defects, or other reproductive harm. |
| Stud Height (mm) | 28.5 |
| Stud Taper | 1:8 |
| Stud Thread | 1/2"-20NF |
| Thread Diameter | 11/16" |
| Thread Direction (L/R) | R |
| Thread Pitch | 18NF |