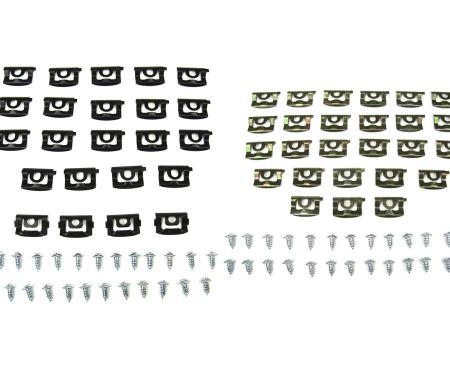
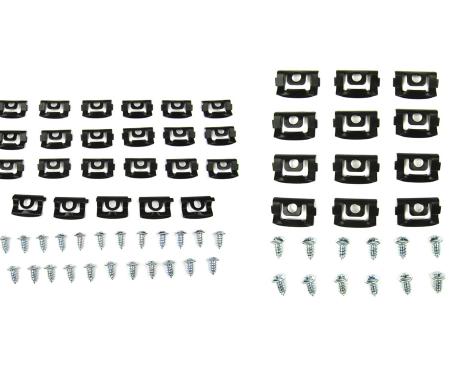
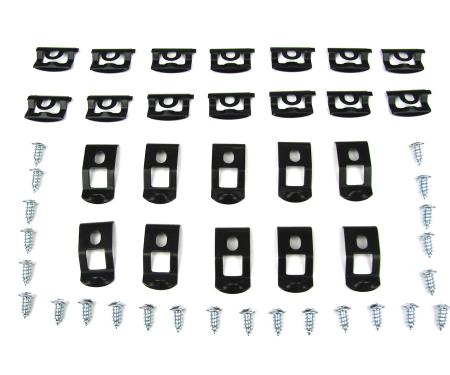
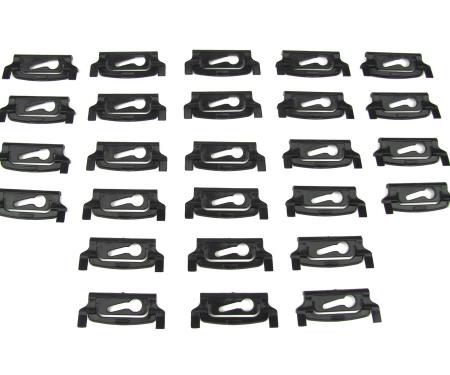
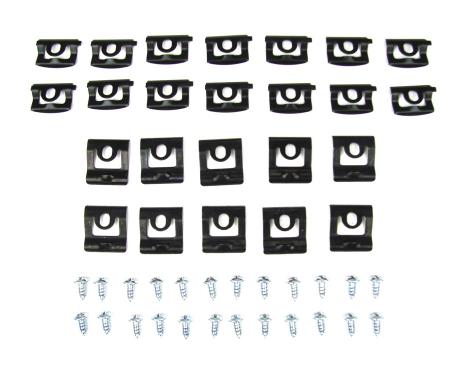
This 46-piece molding clip kit is designed to replace worn or broken windshield molding fasteners on 2-door hardtop Demon, Sport and Duster models. The kit provides OEM-style retainers that secure the windshield molding, restore factory fit and help prevent wind noise, rattles and weather sealing issues. Durable, reliable and easy to install, the set supplies the common clip types used around the windshield channel so restorations and routine maintenance maintain a clean, factory appearance.
Features:
Fits 2-door hardtop Demon, Sport and Duster models (windshield molding application).
Complete 46-piece kit supplies assorted molding clips and retainers for windshield installation.
OEM-style replacement clips restore factory fit and alignment of the windshield molding.
Helps reduce wind noise, vibration and water intrusion by securing trim properly.
Durable construction for long-lasting retention and repeatable installs during restoration.
Easy to use — designed for direct replacement of brittle or missing original clips.
Ideal for restoration projects, maintenance and trim replacement on classic hardtops.
Installation / Application:
Difficulty: 2/5
Estimated time: 30-60 minutes
Suggested Tools:
trim panel removal tool (plastic pry)
flat screwdriver
needle-nose pliers
clip pliers (optional)
cleaning solvent (rubbing alcohol)
shop towels or rags
protective gloves
Instructions:
Park vehicle on a level surface and protect painted areas with tape or cloth where you will pry trim.
Carefully remove the windshield molding: use a plastic trim tool to pry the molding away from the channel, working slowly to avoid bending or tearing the trim.
Remove old or broken clips from the molding and channel using needle-nose pliers or clip pliers; retain any reusable pieces for reference.
Clean the molding channel and mounting surfaces with solvent and a shop towel to remove dirt, adhesive and corrosion.
Identify matching replacement clips in the kit and test-fit one clip to confirm orientation and fit on the molding or channel.
Install clips onto the molding flange or into the channel as required — push until the clip snaps or seats securely. Replace clips along the full length at the same spacing as original clips.
Reposition the molding over the windshield edge and press firmly where each clip is located until you hear/feel each clip engage the channel.
Inspect the molding for even gaps and full clip engagement; make any minor adjustments so the molding sits flush and consistent all the way around.
Allow any disturbed adhesive or sealants to cure (if applicable) and re-check after a short test drive to ensure clips remain seated and no wind noise is present.
About Precision Replacement Parts
Since 1986 Precision Replacement Parts has been a trusted name in the Automotive Glass Industry.
Our knowledge and experience in manufacturing millions of extruded and molded EPDM Rubber, PVC and HDPE based plastics, and various stamped and extruded metal products for the classic and late model industries has allowed Precision to expand our services into multiple product markets.
Along with our own USA based production facility, Precision also partners with 25 different manufactures worldwide with a reputation as a global leader supplying OEM and replacement products to a number of different industries. Our partnerships along with our own in-house manufacturing and fabrication capability gives Precision a unique position in helping to meet the expanding needs of customers everywhere, providing them with a sustained competitive advantage.
Vehicle Fitment:
The Vehicle Fitment Guide is to be used as a general reference. The data has been provided by our suppliers and manufacturers and may contain errors or incorrect data. Always refer to a professional to verify correct fitment for your vehicle.

 models - Molding Clip Kit, Windshield, 46 Piece Set PCK-759-70")
 models - Molding Clip Kit, Windshield, 46 Piece Set PCK-759-70")